
PowerPoint Aligning and Sizing Shapes – did you know that there are some different ways in which you can do this on your slides?
![]() This week’s hint and tip is on PowerPoint aligning and sizing shapes. This hint and tip covers different ways in which you can align and resize shapes on a PowerPoint slide. This isn’t necessarily covered in detail in our Basic PowerPoint training course so we decided to do a hint and tip on it. We are going to go through it now below.
This week’s hint and tip is on PowerPoint aligning and sizing shapes. This hint and tip covers different ways in which you can align and resize shapes on a PowerPoint slide. This isn’t necessarily covered in detail in our Basic PowerPoint training course so we decided to do a hint and tip on it. We are going to go through it now below.
Aligning Shapes
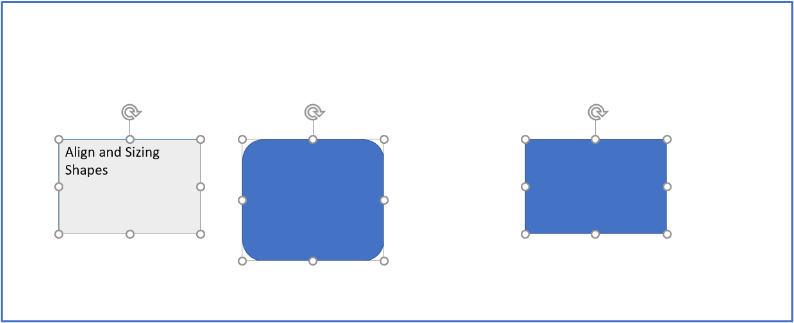
On the slide below the 1 text box and 2 blue shapes are neither the same size nor properly aligned! We are going to show you how to align and resize all three so they are the same.
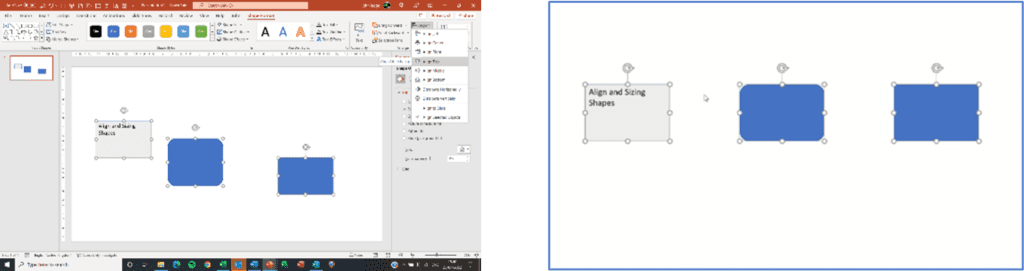
Method 1 – Using the Align button on Shape format tab
This method uses the align button that can be found on the Shape Format Tab when you click on the shapes. Clicking on it will give you options to choose from for aligning.
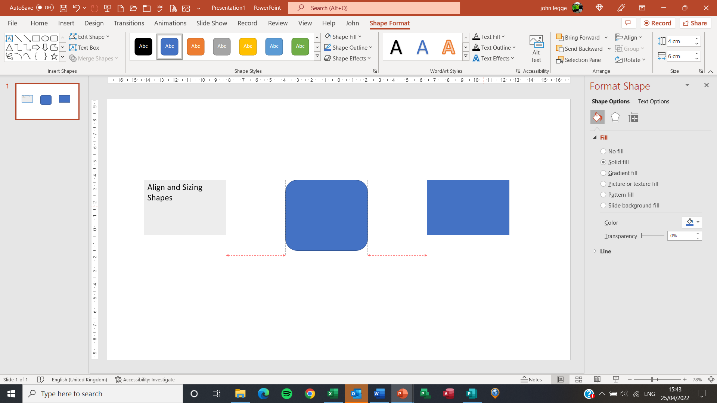
Method 2 – Using red gridlines
This method is quicker in method 1. Select a shape (say shape 2) and move it upwards towards the top alignment of shape 1. As you do this, red align gridlines appear. These gridlines appear to let you know they are both aligned. Similarly you can repeat this with shape 3. You can also distribute horizontally using this method too as you’ll see in the picture below the horizontal distribution lines with their arrows
Sizing Shapes
To get all 3 shapes including the text box the same height and width you first need to take off ‘lock aspect ratio’. This is found on the pane called Format Shape. Right hand click on one of the shapes and select size and position from the list.
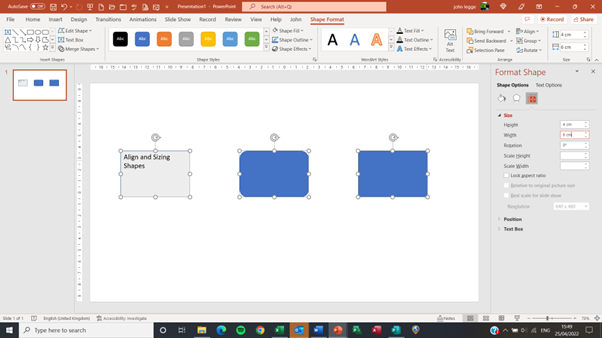
Now you can type in a height and width to suit (in this case 4cm height by 6cm width). So now you have the shapes all aligned and sized the same!
The video below shows you how you can use these methods to alter the alignment and size of shapes in your PowerPoint slides.
Take a look below at the video to find out more and then try them out on your own computer!
We hope you have enjoyed this hint and tip on PowerPoint aligning and sizing shapes. Why not take a look at our previous video hint and tip on copying values from the Status Bar in Excel?
For more information on PowerPoint features visit our hints and tips features here or attend one of our courses which you can view details of here.