
Inserting Tables in PowerPoint – how do I insert a table into a slide in my presentation?
![]() This week’s hint and tip is looking at inserting tables in to a slide within the PowerPoint package. We cover this on our Basic PowerPoint training course but we also decided to do a hint and tip on it. We are going to go through it now below.
This week’s hint and tip is looking at inserting tables in to a slide within the PowerPoint package. We cover this on our Basic PowerPoint training course but we also decided to do a hint and tip on it. We are going to go through it now below.
Inserting a Table
We are going to cover three ways in which you can insert a table into a PowerPoint presentation slide.
Firstly you need to make sure you have a slide inserted into your presentation. Make sure that the slide layout you have is Title and Content. Once you have the slide in the right layout you can now insert a Table.
First Way – using the Insert Tab, white boxes
The first way to insert a table is through the use of the Insert Tab.
Insert a new slide and make sure that the slide layout is Title Only.
To insert a table, firstly click on the Insert Tab and click on the Table option on the ribbon. When clicking on this option, a drop down style menu will appear with a lot of small white boxes at the top of it. As you hover over these, you will see a preview of the table on the slide.
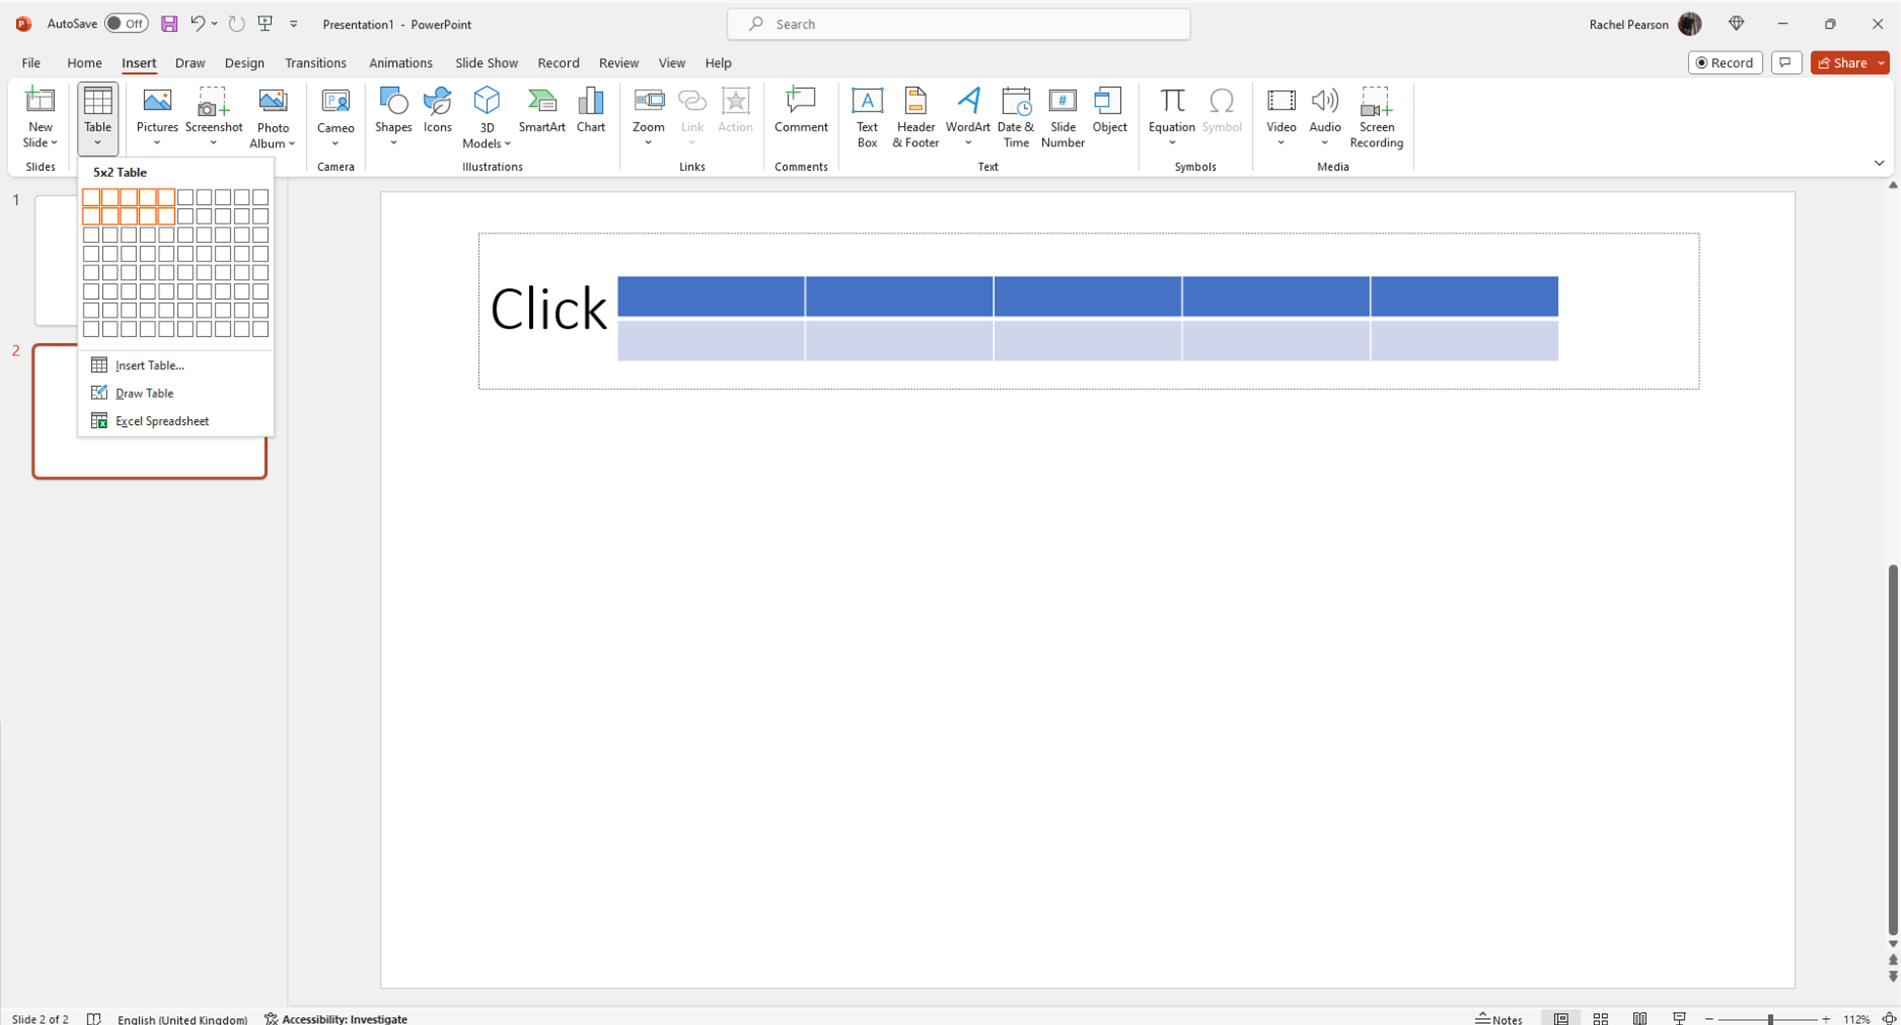
Once you have the correct number of boxes hovered over for the table, click on the box. This will then insert the table into the slide for you.
Second Way – using the Insert Tab, insert table option
The second way to insert a table is still through the use of the Inert Tab but using the ‘insert table’ option listed in the drop down menu. Click on the Table option on the insert tab and from the drop down menu that appears, click on the ‘insert table’ option listed.
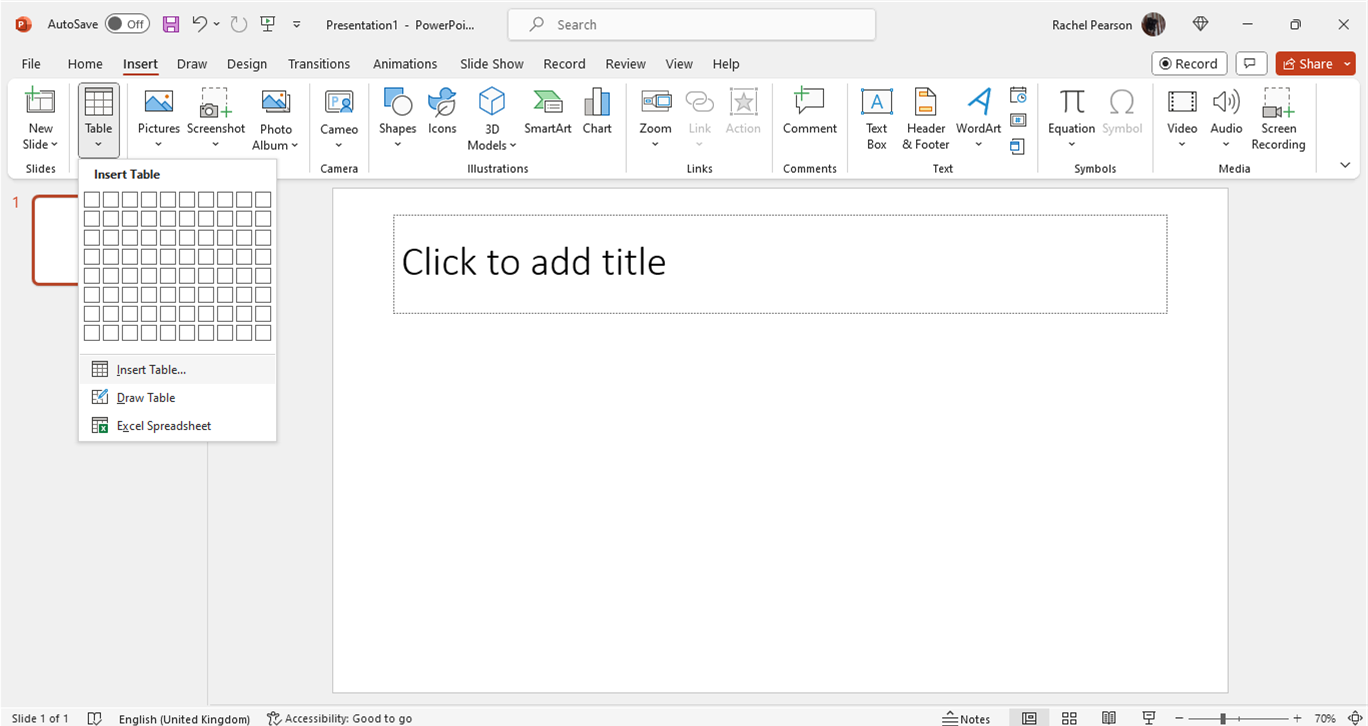
This will produce a small pop up window where you can type in the number of columns and rows you want for your table. Once you have done this, click ok.
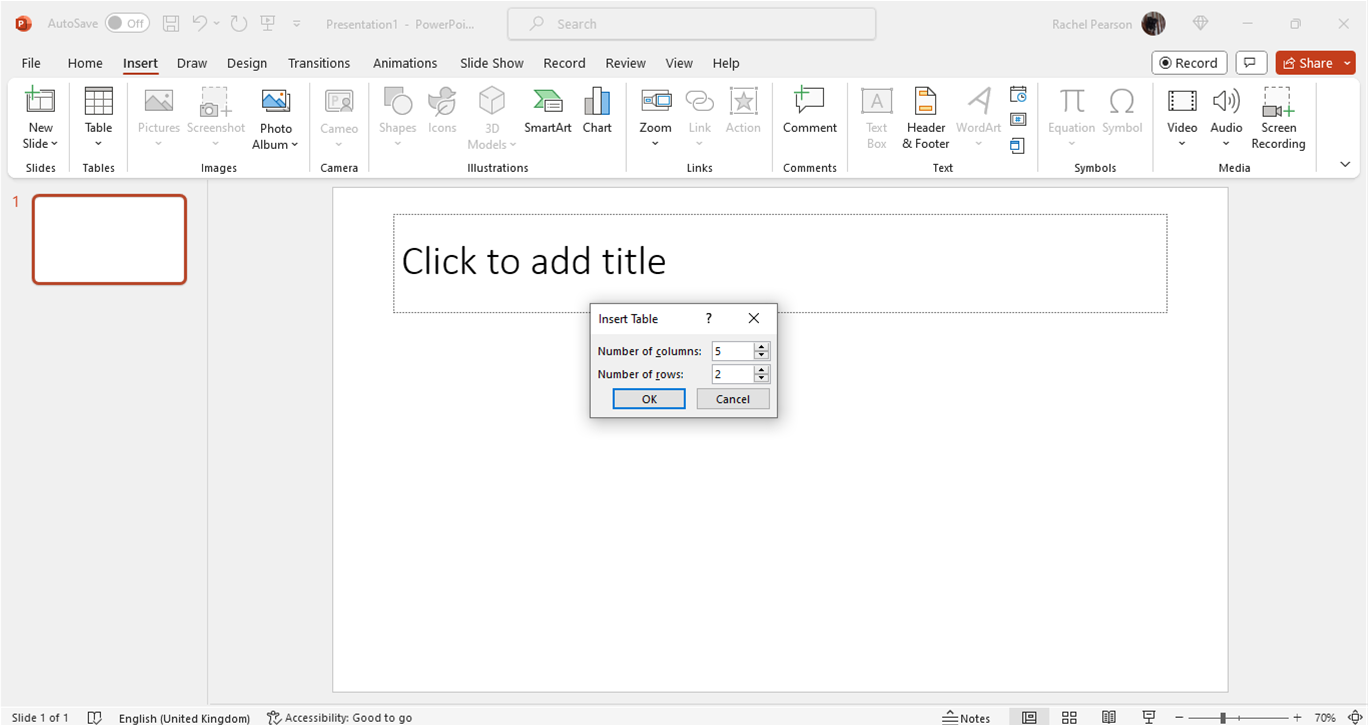
This will now insert the table in to your slide same as it did in the first way mentioned above.
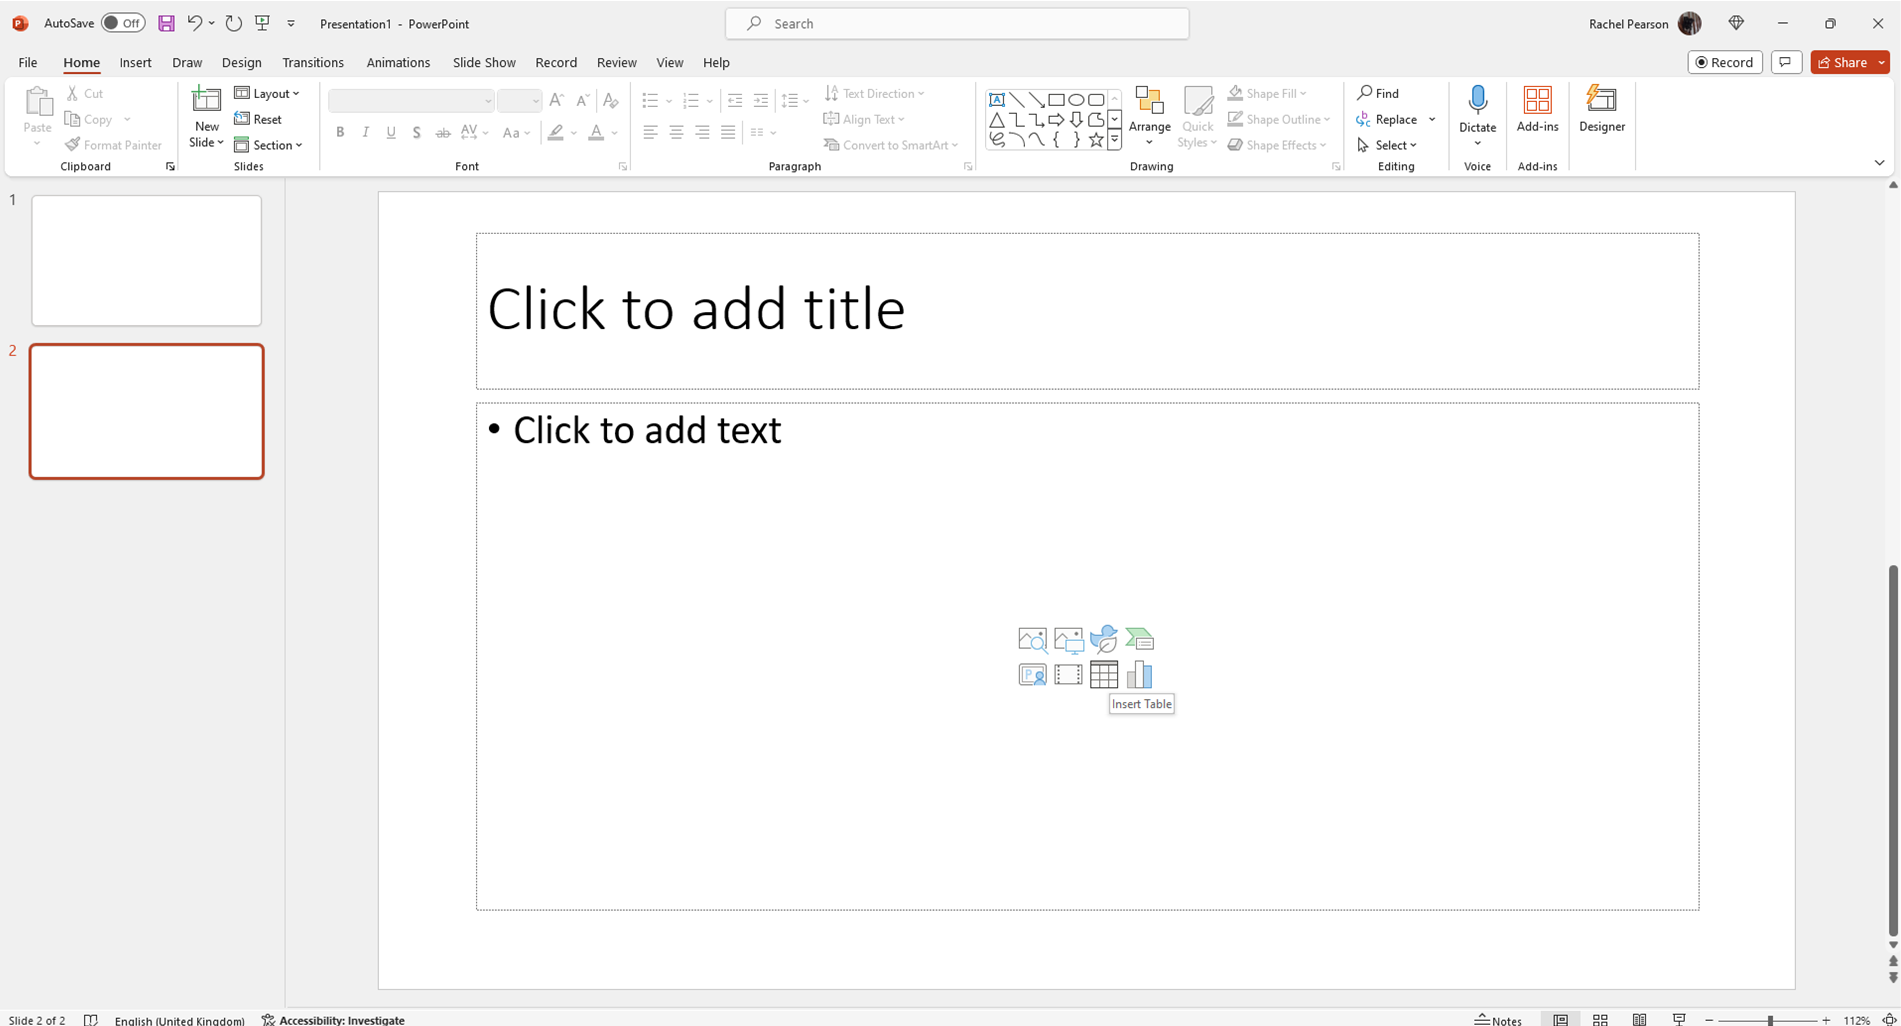
Third Way – Using the Insert Table option in the content box
The third way to insert a table is through the use of the content box on your slide. The content box on your slide has a number of icons that you can use to insert something in to your slide. For this example we are going to use the insert table icon.
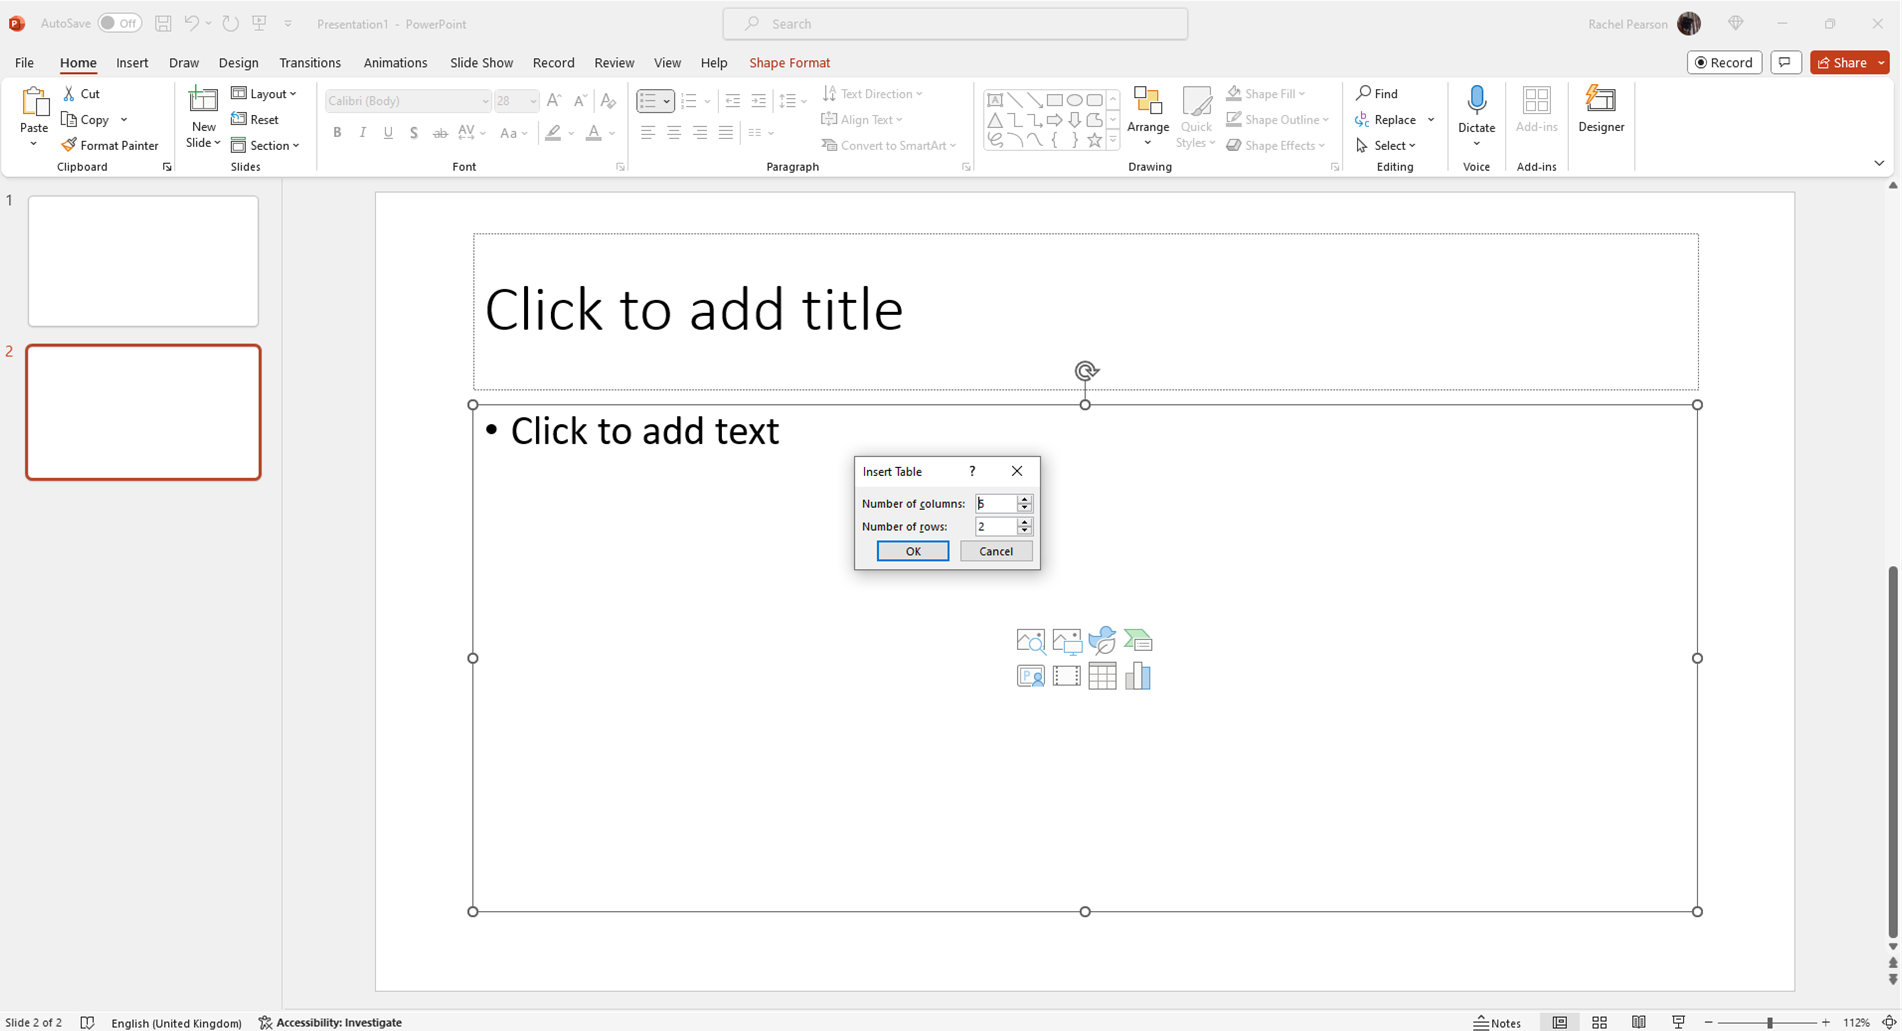
In your content box hover over the 7th icon on the second row (the words Insert Table should appear when you hover over it).
Click on this icon and a little box will appear. This box allows you to type in the number of columns and rows you want to be in your table. Once you have typed the numbers in, click OK to insert it in to your slide.
Once you have done this, you will find that the content box has disappeared and there is now a table in its place. Here you can re-size the table to the size you need it to be.
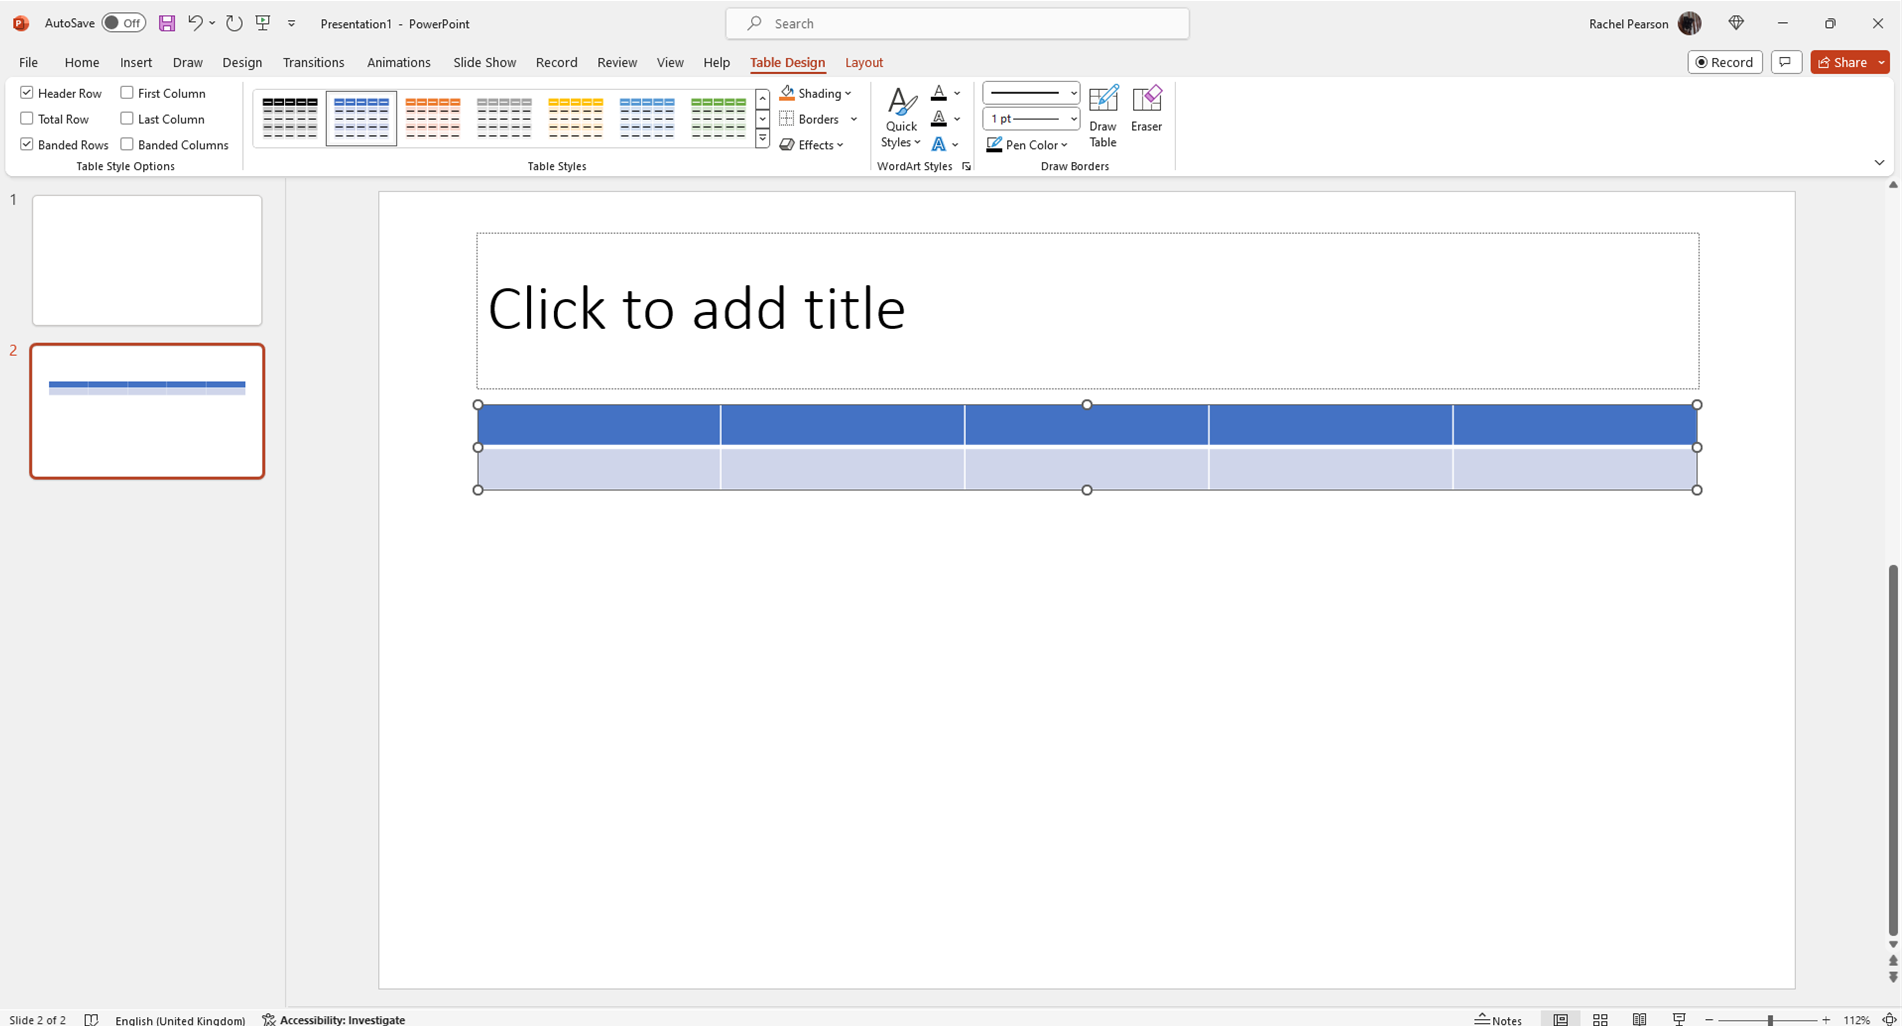
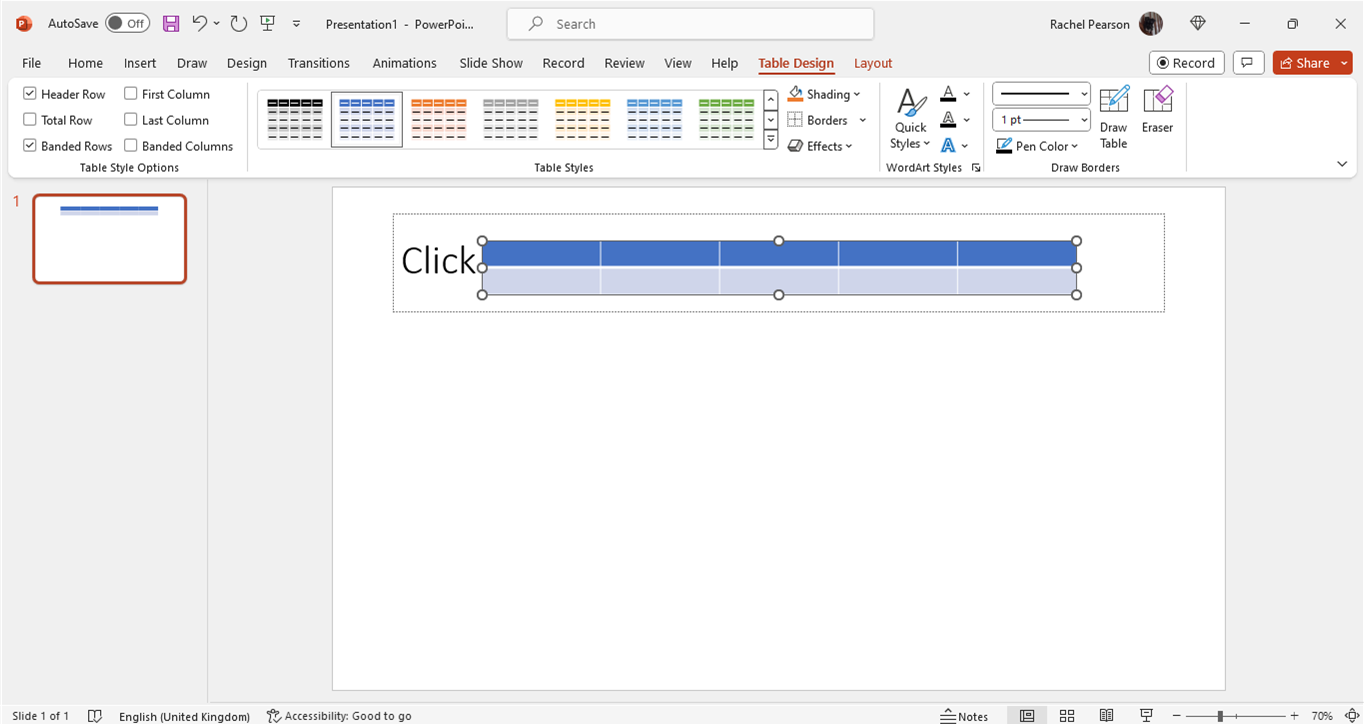
Formatting a Table
Once inserted, there are other formatting options you can use (as shown below) for editing your picture. These options are found on the Table Design and Layout Tabs which appear at the top of your screen when you click onto your table. These tabs are the same no matter which method you choose to insert your table via.
The video below shows you how to insert tables using these three different ways in your PowerPoint presentations. Tables are a good way of summarising information in your slides, especially if you are doing comparisons.
Take a look below at the video to find out more and then try them out on your own computer!
We hope you have enjoyed this hint and tip on inserting tables in PowerPoint. Why not take a look at our previous video hint and tip on how to insert a shape into your presentations in PowerPoint?